Apple has done its best in recent years to make macOS more similar to iOS. So, it shouldn’t be a shock that the company lets customers use their iPhones or iPad to access their Mac. However, in recent years, the prevailing strategy has shifted. Despite this, it is still quite simple.
Why would accessing a Mac from an iPhone be necessary?
Various use scenarios demonstrate why connecting your iPhone to your Mac may be necessary. The first is simple but obvious: remote access to files saved on the PC. Another situation is the benefit of troubleshooting it gives. A great way to fix a computer issue is through remote access, whether you’re linking to your Mac at work or using a family member’s computer on the opposite side of the country.
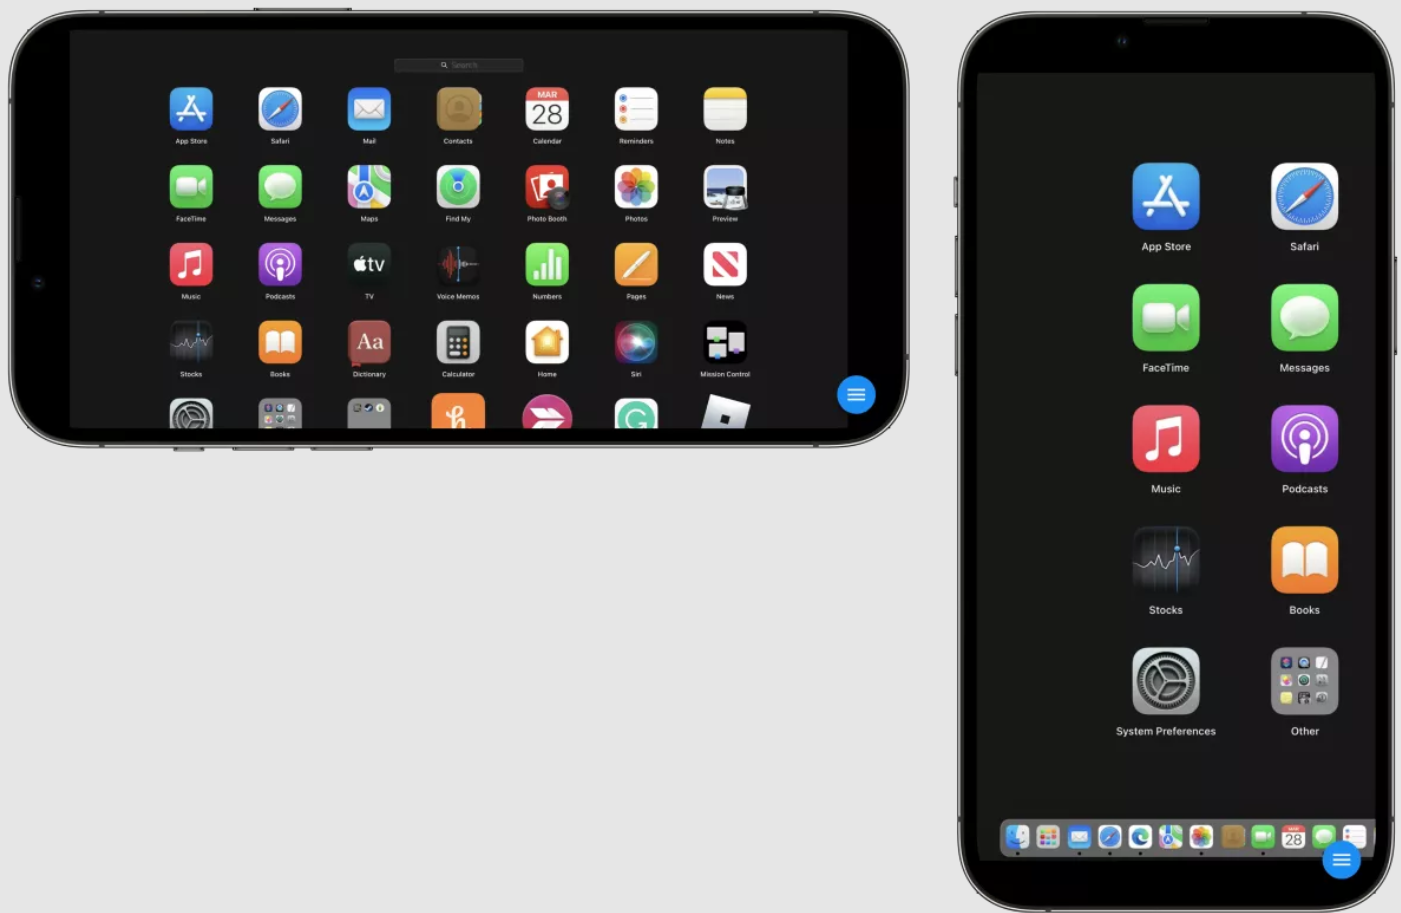
Apple has made it much simpler to use macOS on the iPad, and rightfully so; a tablet offers a far superior option due to its bigger display.
For many years, Apple‘s Back to My Mac remote access capability in macOS was available (and early Mac OS X). Bonjour was used to locate and link to external hardware via the internet. Back to My Mac was removed from macOS Mojave in 2019.
Even with the passing of Back to My Mac, there are still methods to remotely control and operate your Mac from an iPhone or iPad. As you’ll see below, some options are simpler to use than others, and each serves a different function.
Using Mac Screen Share
You may access a Mac from any location with an internet connection using the built-in Mac Screen Sharing feature of macOS. Additionally, it enables collaboration on projects like presentations and websites with other people.
Apple does not yet provide a native remote support tool for iPhone users to control a Mac. You may, however, use a free app to do so.
The simplest method is to use a Google account and the Chrome browser on an iPhone.
By going to “System Preferences,” you must first turn on Mac Screen Sharing on the machine. Next, choose “Sharing.” Then check the box beside “Screen Sharing” on the left. Select the lock icon in the lower left corner, sign in with your Mac account, then tick the box if it’s grayed out.
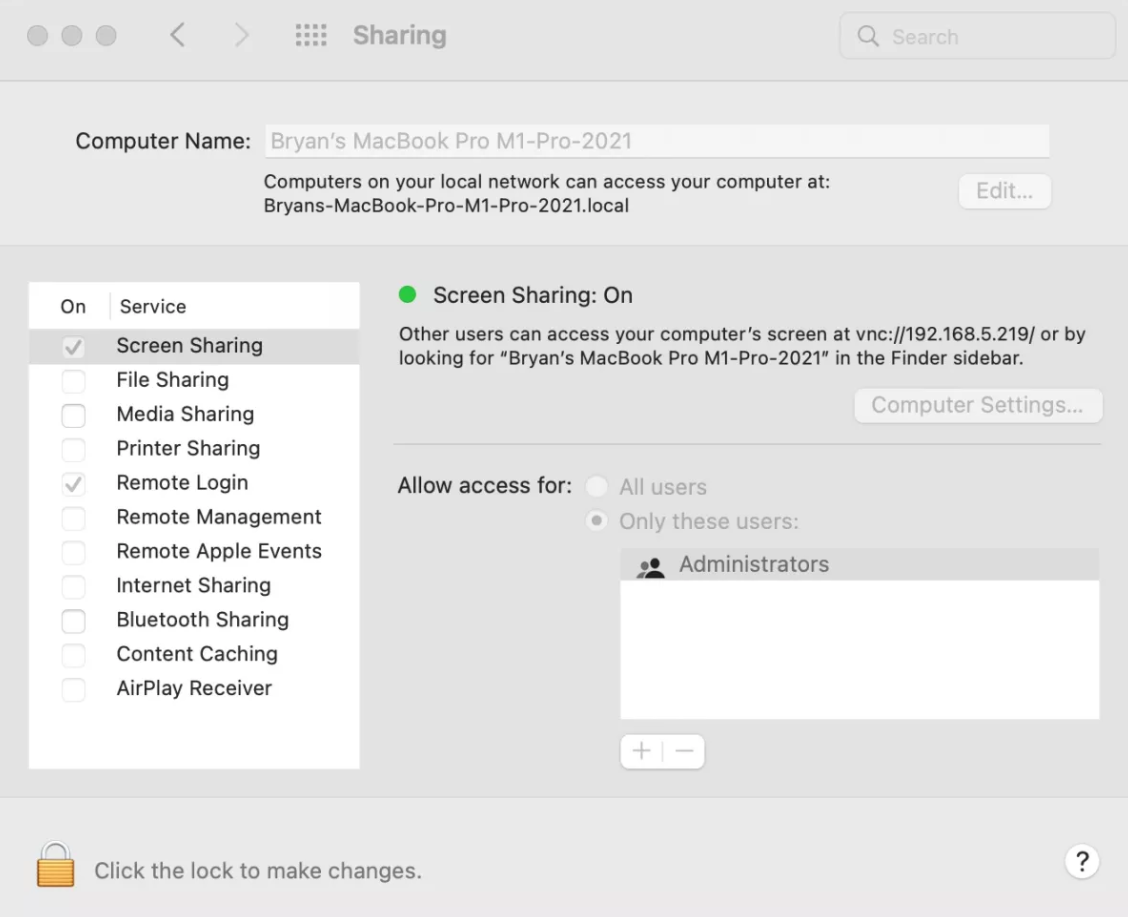
In the top right corner, where it says “Screen Sharing: On,” take note of the address and computer name. On your Mac, download, and set up the Google Chrome browser.
If you haven’t already, go to https://remotedesktop.google.com/access/ using the Chrome browser and sign in to your Google account. Click the ‘Set up remote access’ button. Then, click the ‘Add to Chrome’ button. Download the remote access extension on your Mac by following the on-screen directions.
Return to the Google Chrome browser and enter the computer’s name in the box after the extension has been installed. The default name will be shown, which you may edit or replace. Select ‘Next’. Enter a 6-digit pin twice, press “Start,” and then adhere to the on-screen prompts.
To spare you a few steps, there must be paid remote desktop services accessible. Nonetheless, you may complete the task for free by utilizing Google Chrome. TeamViewer and LogMeIn are two paid choices worth investigating.
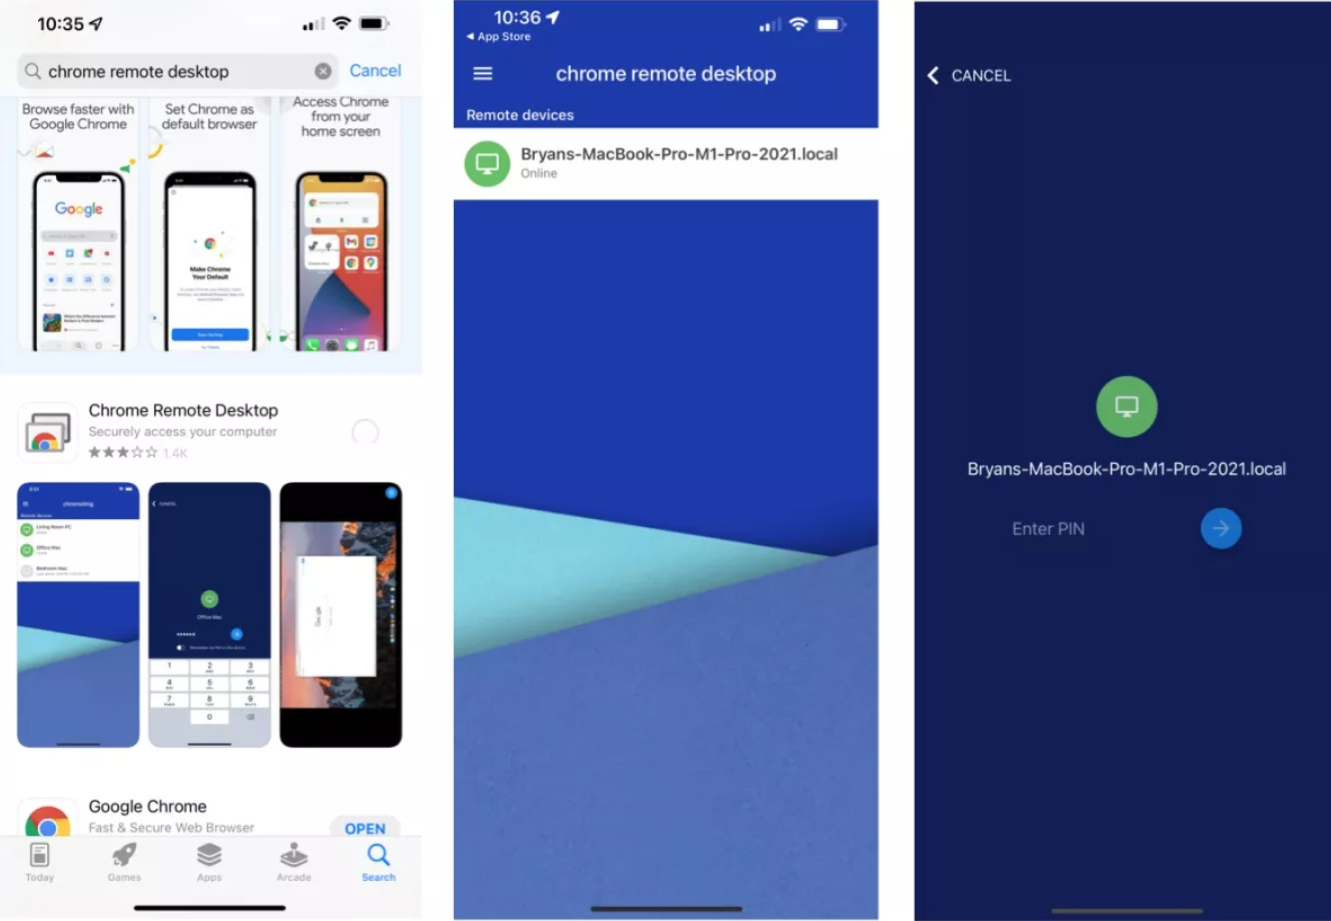
Install and launch the Chrome Remote Desktop application on your iPhone. Sign in using the same Google account you used on your Mac. When you do, you’ll notice a link to remotely access your computer. Simply click on it. Enter the 6-digit pin that was assigned above the arrow icon. You may now use your iPhone to operate your Mac.
The program provides several ways to operate the Mac, such as the capability to disconnect. Chrome Remote Desktop, on the other hand, must be active on your Mac to function. Return to the Chrome software on your Mac and click the garbage can sign next to the computer nameplate on the Chrome Remote Desktop page to turn this off when not in use.
Using FaceTime
FaceTime’s SharePlay function is one of the most recent tools for sharing your Mac screen.
Although this function is frequently marketed for its entertainment value, it also works well as a troubleshooting or instructional tool. The targeted applications are to share the Mac screen to show programs, websites, and other content. And, due to FaceTime, everyone on the call may respond to what they’re seeing and remark on it.
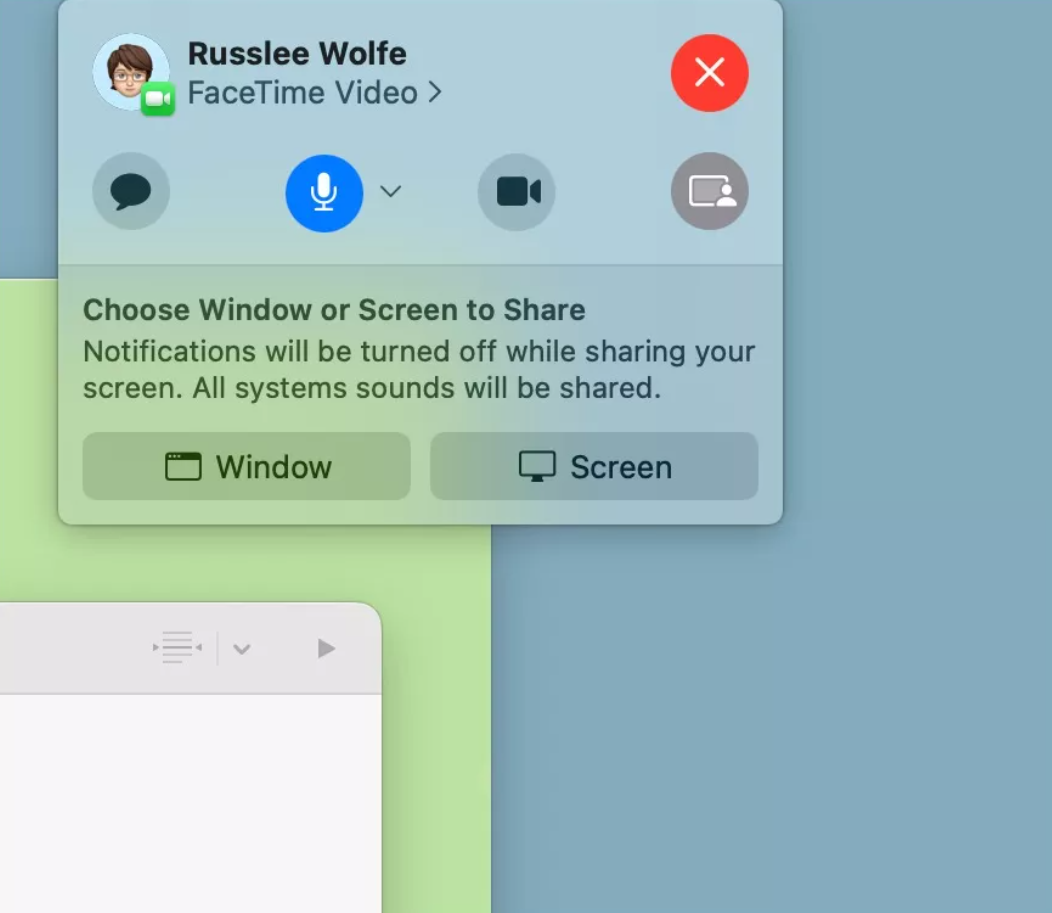
To start, you must be on a FaceTime call. Next, the Mac user must press the FaceTime and Screen Share buttons. Share the program window or Share the complete screen are the two choices.
To stop sharing, press the FaceTime button again and select ‘Stop Sharing.’
Please keep in mind that FaceTime does not allow other users to physically control a Mac desktop. It’s provided since it may be used as a simple troubleshooting tool.
Source: Techradar
Also read about: 5 Free Android Texting Applications That Deliver Genuine SMS